vosyr (version 1) user manual
Introduction
vosyr - the free volca sample manager. With vosyr you can manage and organize samples and sequences and transfer it to the volca sample via its "SYNC-IN" input.
Note:
This user manual will show you how to use vosyr. If you have questions about the usage of a volca sample, please refer to the volca sample user manual.
Disclaimer.
Please use it at your own risk. I am not responsible for any damages that may be caused by vosyr.
System requirements
Windows
7 / 8 / 8.1
Mac OS X
10.8 / 10.9 / 10.10
volca sample
volca sample system version 1.3
Installation
Windows

- Download the latest installer from www.frederikson-labs.com and unzip it.
- Launch the vosyr_installer_vX.X.X.exe.
- Follow the installation wizzard.
To uninstall execute the vosyr uninstaller located in the installation directory.
Mac OS X
- Download the latest dmg from www.frederikson-labs.com and open it.
- Drag the vosyr application to your Applications directory.
To uninstall drag the vosyr application to the trash.
Projects
The samples and sequences of the vocla sample are organized in projects. Each project can hold 100 samples, 10 sequences with their 10 parts, parameters, patterns and motion data.
First start
If you start the vosyr for the first time a new empty project will be created, which is called "untitled.vsj*". You will find the name of the currently open project in the title bar. An asterisk beside the project name means, that the project has unsaved changes.
File menu
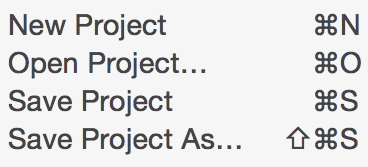
In the File menu you can create a new project, open a project, save the open project or save the open project with a different name to a new project directory.
A vosyr project is stored in a project folder which has the name of the project. In this folder you will find a project file. This file has the file extension ".vsj" (vosyr project). All ".vsj" project files are associated with the vosyr application during the installation. You can open the projects directly with double click on the project file. The samples and sequences of a project are also located in the project folder.
Recent documents
Evertime you open a project it will be added to the recent documents which are shown in the dock on Mac OSX and in the taskbar tray on Windows.
Samples
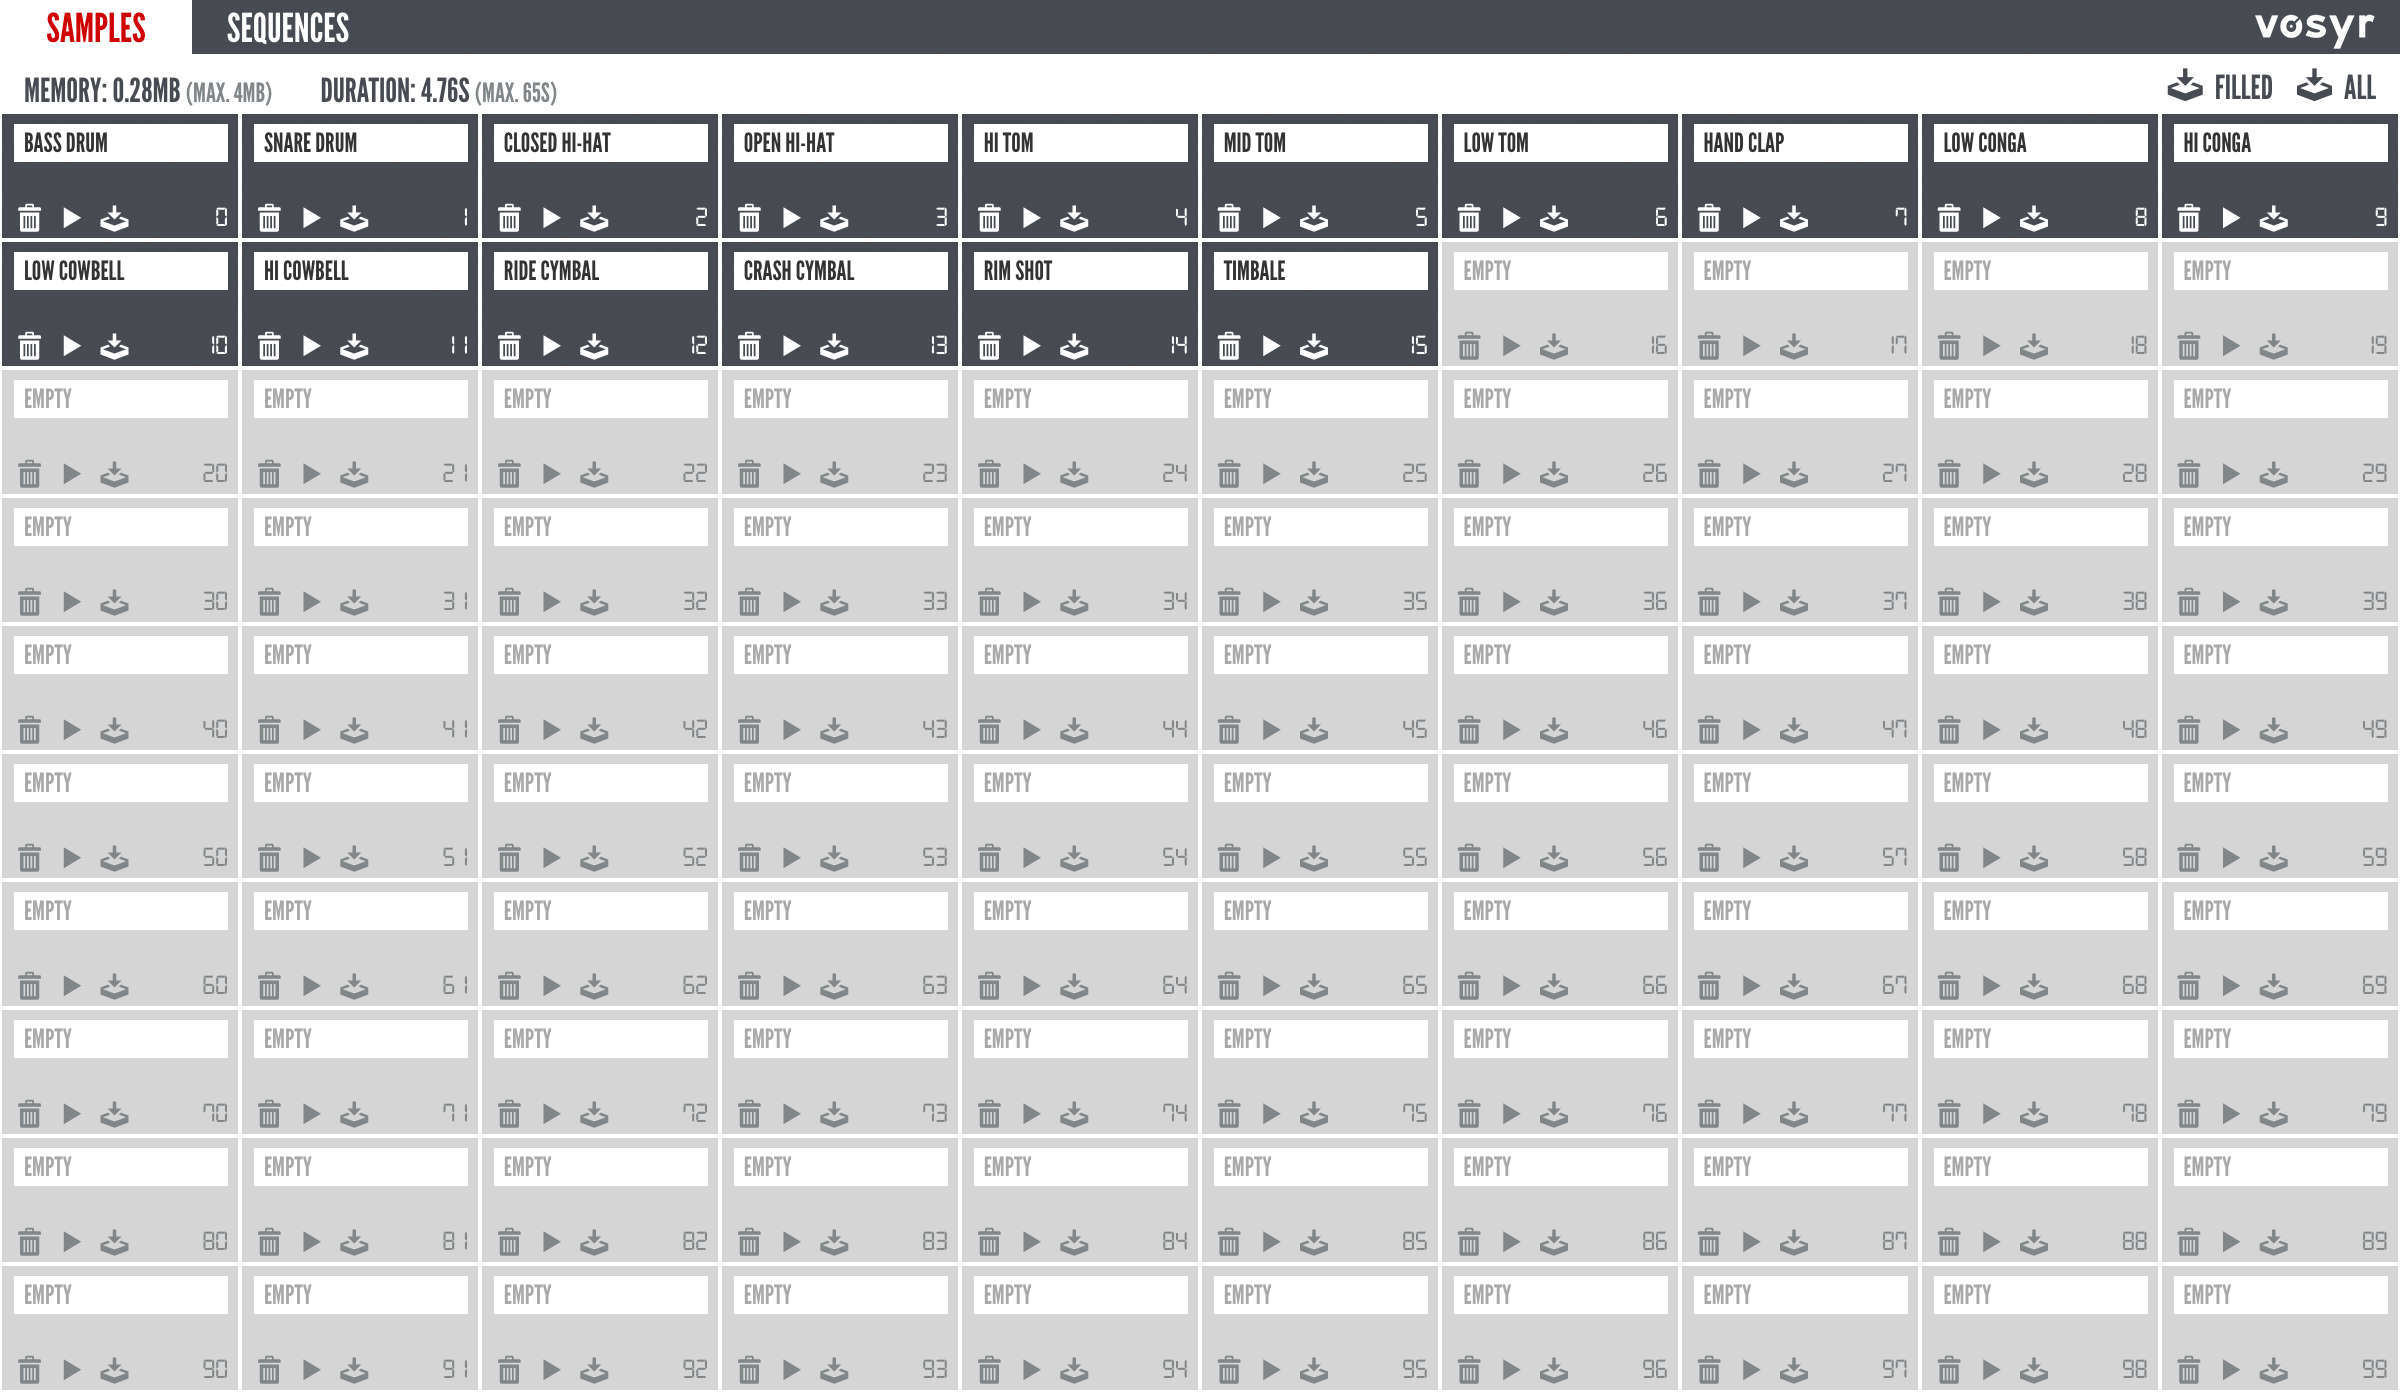
In the samples tab you will find one sample slot for each of the 100 samples of the volca sample. They are numbered from 0 to 99.
Samples Tab Header
Sample infos

The samples tab header shows the ammount of memory that is used by the samples in your project. The volca sample can hold up to 4 MB of samples. The base for the calculation is 16 Bit, 31250 Hz (volca samples bit depth and sampling frequency).
The header shows also the amount of time of the filled sample slots. Volca sample can store up to 65s of samples in his memory.
Note:
The data displayed is for your information only. vosyr will not prevent you from adding more than 4MB or 65s of samples. If you do so the transfer may not work and the volca sample will show an error.
Transfer buttons
With the transfer buttons (marked by![]() ) in the samples tab header you can transfer all the filled samples (
) in the samples tab header you can transfer all the filled samples (![]() ) or all samples (
) or all samples (![]() ) of the project at once. To transfer all samples you can also use the corresponding item in the main menu.
) of the project at once. To transfer all samples you can also use the corresponding item in the main menu.
Note:
If you choose to transfer all samples the emtpy sample slots will also be transfered to the volca sample and will clear the corresponding slots there.
Sample Slot

A sample slot can hold one sample and has two states: empty and filled.
Here you can delete, play or transfer each sample.
Note:
If you transfer an empty sample then the sample slot in the volca sample is cleared.
Add samples
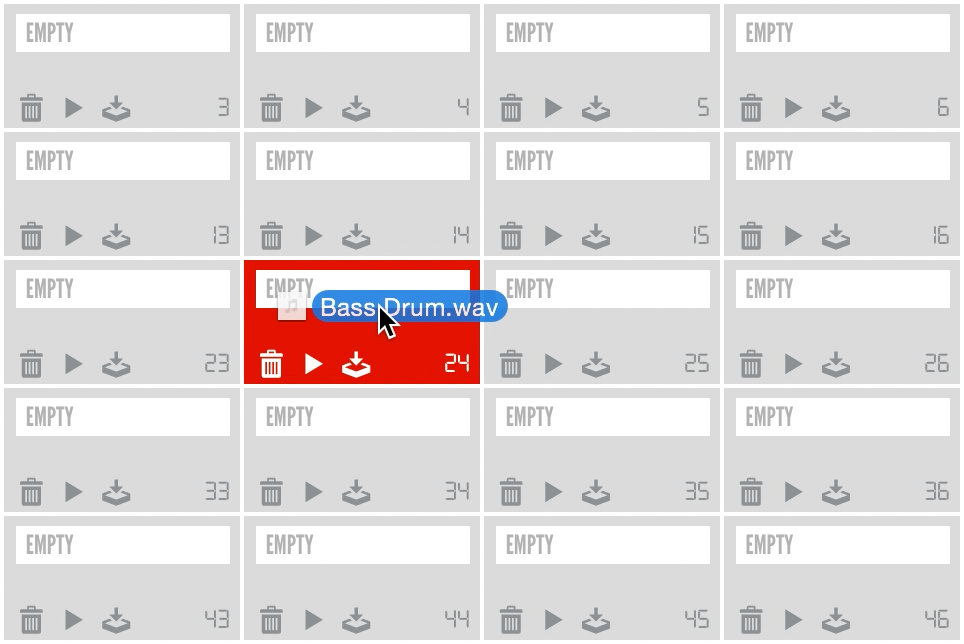
To add a sample to a slot you can drag and drop a WAV file to the slot directly from the file system.
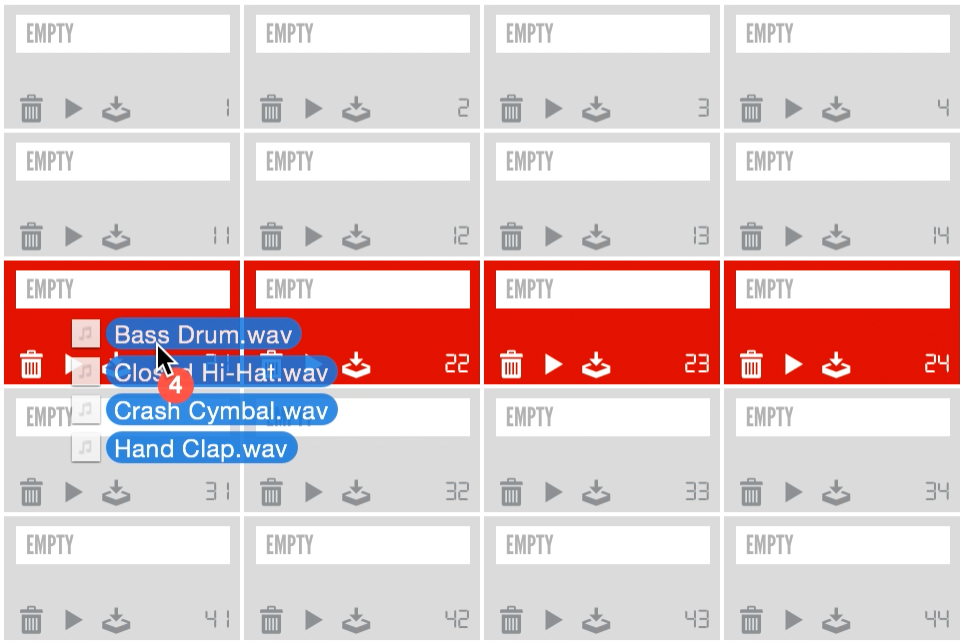
You can also drag and drop multiple files.
Note:
At the moment you can add only 16 Bit WAV files, because that's the bit depth volca sample understands out of the box. Therefore no conversion is made. If you try to add WAV files with other bit depths or invalid files you will be informed, that you can not do that.
Sample names
After dropping the file(s) to the sample slot(s) the filename will be used to set an name for the sample slot. You can change the name with the text input (max. 50 letters).
Move samples
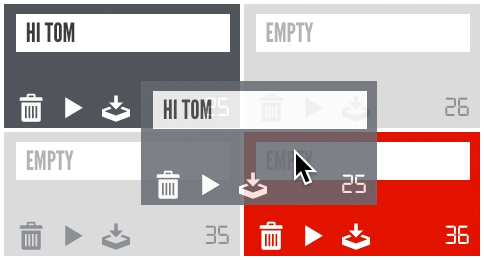
If you want to change the position of the sample you can move the sample from one slot to another.
Sequences
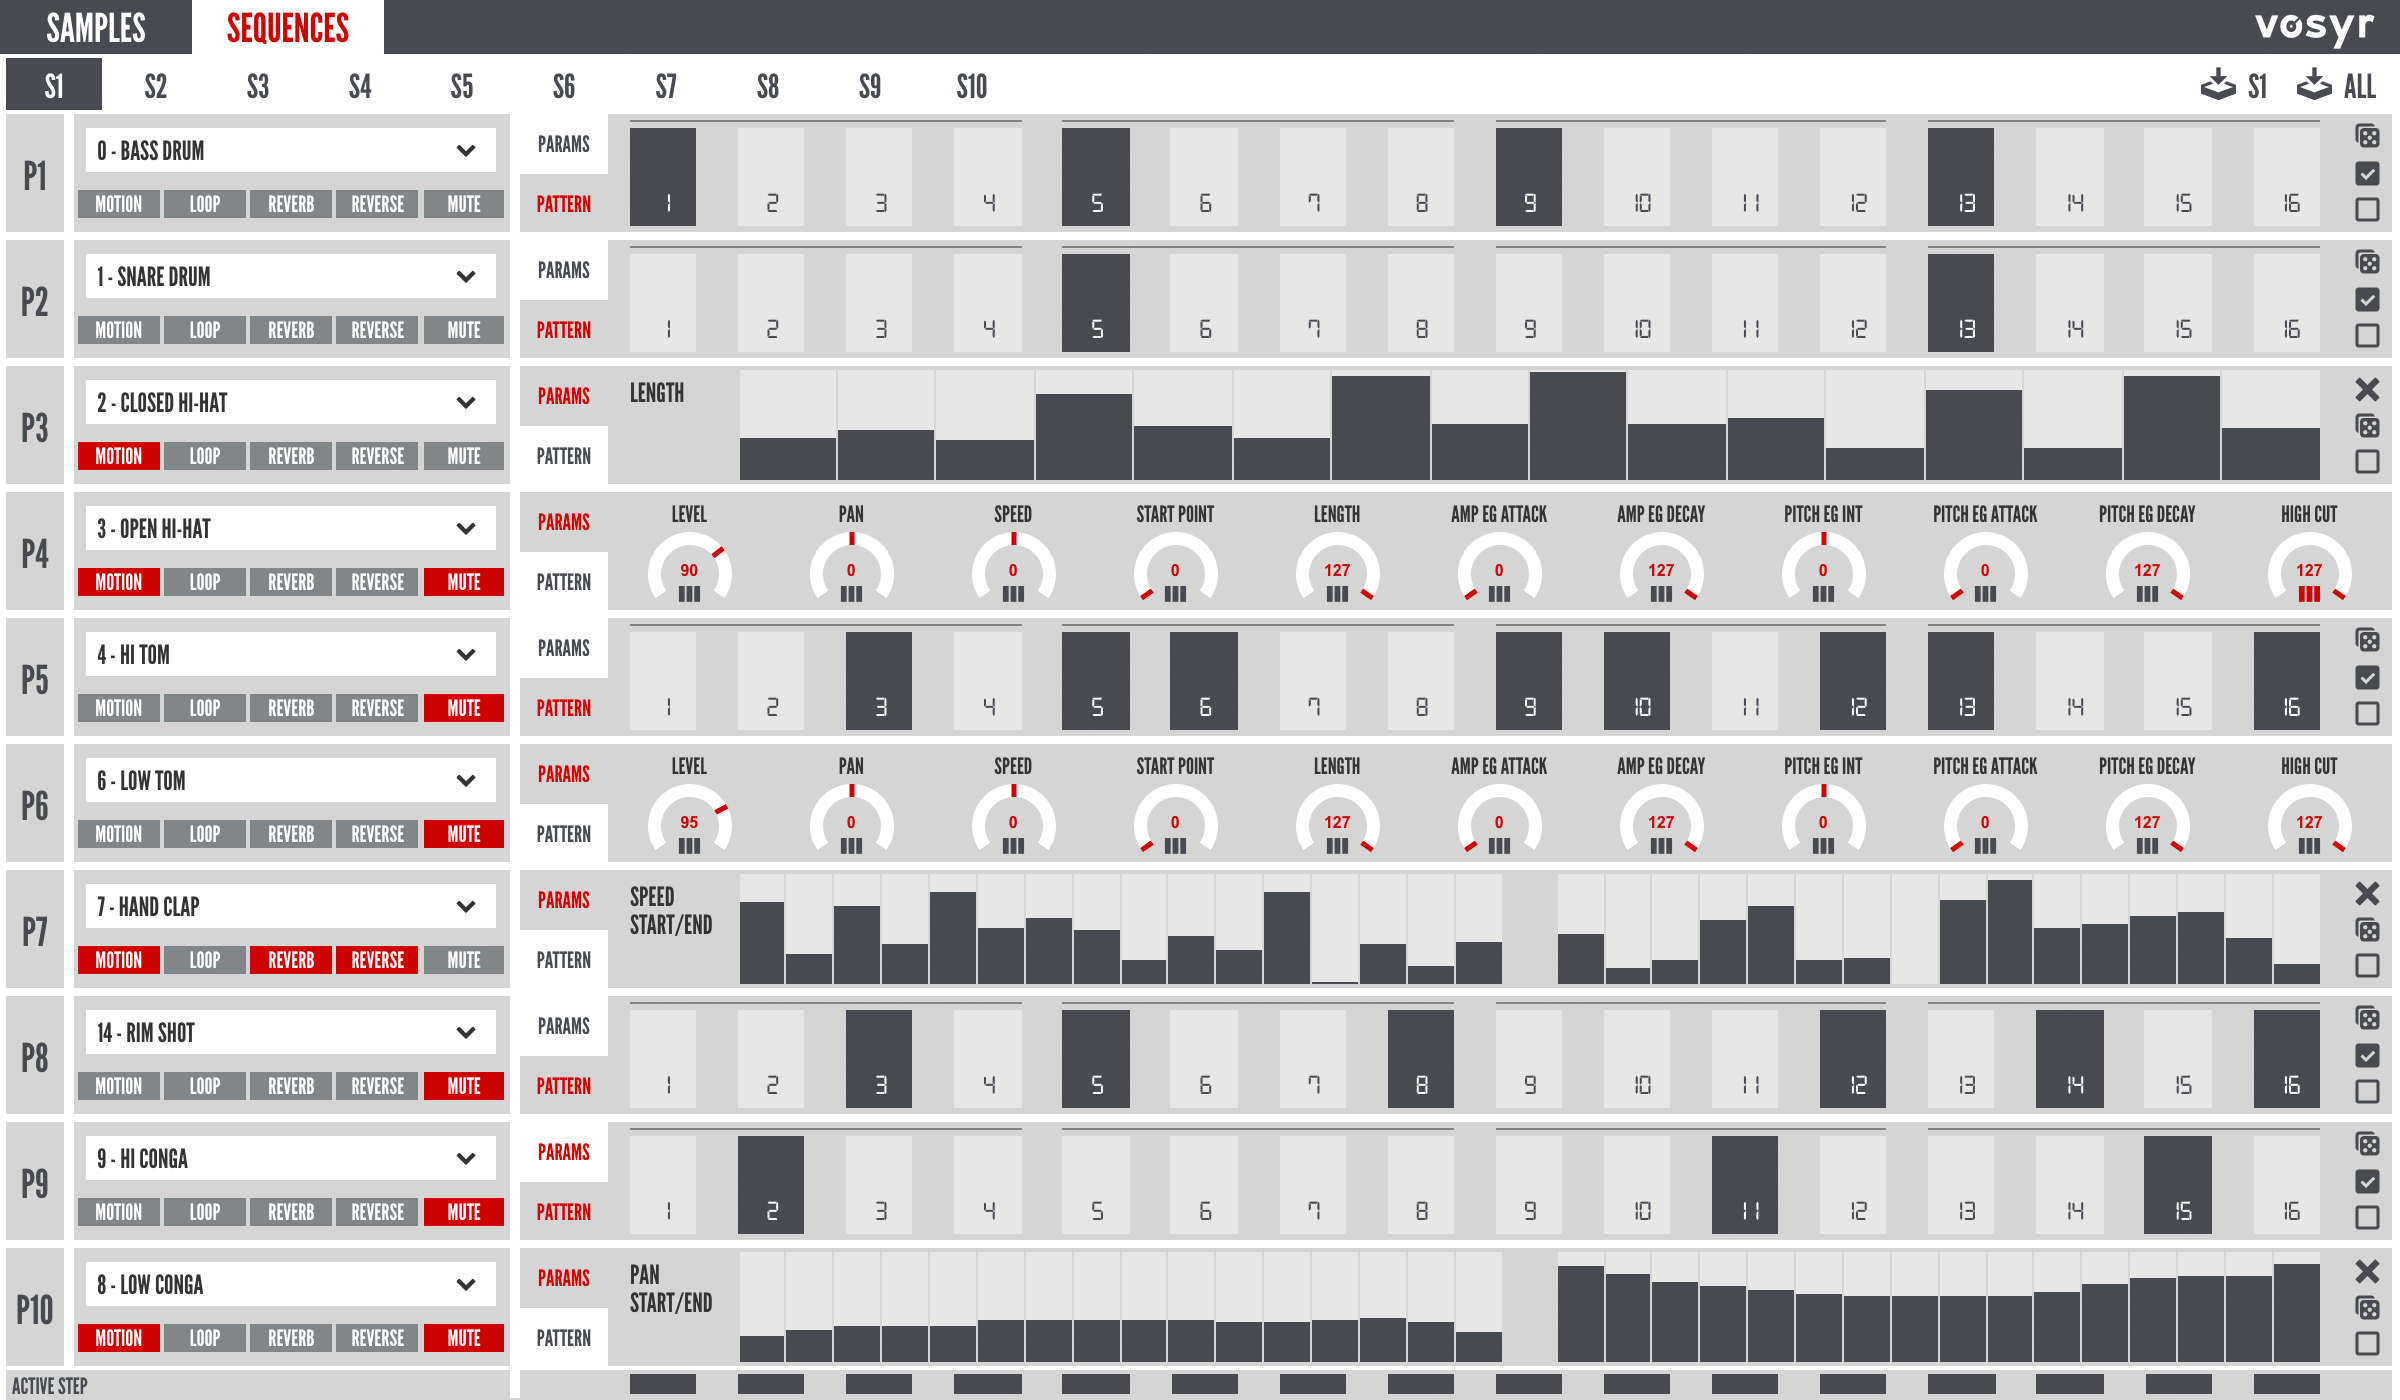
In the sequences tab you have access to the ten sequences with their parts and parameters that a volca sample provides.
Note:
The general volca sample paramaters tempo, swing, reverb mix, volume and the analog isolator bass/treble can not be changed or transferred by vosyr!
Sequences tab header
Sequences menu

With the sequences menu you can select on of the sequences with the ten buttons numbered S1 to S10.
Transfer buttons
With the transfer buttons (marked by![]() ) in the sequences tab header you can transfer the selected sequence (
) in the sequences tab header you can transfer the selected sequence (![]() ) or all sequences (
) or all sequences (![]() ) of the project at once. To transfer all sequences you can also use the corresponding item in the main menu.
) of the project at once. To transfer all sequences you can also use the corresponding item in the main menu.
Parts
Each sequence consists of ten parts with their parameters. The ten parts are arranged vertically in rows. At the left side of each row you find the number of the part (P1..P10).
Sammple assignment:

To every part you can assign a sample by name with the samples dropdown.
Function parameters:

The following function parameters can be enabled (red) or disabled with their buttons:
- Motion- enable or disable motion data
- Loop- enable or disable loop
- Reverb- enable or disable the reverb
- Reverse- enable or disable reverse playback of the sample
- Mute- mute this part
Step programmable parameters:
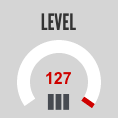
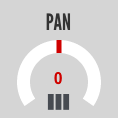
All step programmable parameters can be set with an encoder. There are two types of encoders: normal and centered.
Those are the step programmable parameters:
- LEVEL
- PAN
- SPEED
- AMP EG ATTACK
- AMP EG DECAY
- PITCH EG INT
- PITCH EG ATTACK
- PITCH EG DECAY
- START POINT
- LENGTH
- HI CUT
To change the parameter value drag the encoder handle arround or move your mouse wheel over the encoder or type the value in the number input. To reset the parameter to its default value you can double click the encoder.
Motion data:
Every step programmable parameter can be modified by motion data as volca samples plays back the sequence. You can open the motion data view for the parameter by clicking on the motion data button (![]() ) below its encoder. If the button is red (
) below its encoder. If the button is red (![]() ) then motion data has been set.
) then motion data has been set.

In the motion data view you can edit the motion data in sixteen steps.
You can change each step seperately or you can press and hold the left mouse button and move over each step to draw in the values.

Level, pan and speed have sixteen steps for a start and an end value. If the volca sample plays the sequence with this motion data the values for each step will be interpolated between the start end the end value.
On the right side of the motion data view you find three buttons. With the cross (![]() ) you close the motion data view. A click on the dice (
) you close the motion data view. A click on the dice (![]() ) will create a random motion data pattern. The empty square (
) will create a random motion data pattern. The empty square (![]() ) deletes all motion data for this parameter.
) deletes all motion data for this parameter.
Patterns:
With the PARAMS/PATTERN switch (![]() ) you can change between the params or pattern view of the part.
) you can change between the params or pattern view of the part.

If you open the pattern view you see the sixteen steps for the part. Every step can be turn on or off by clicking with the left mouse button. If you want to change the steps "on the move" you can press and hold the left mouse button and move over each step.
On the right side of the pattern view you find also three buttons. With the dice (![]() ) you can create a random pattern. The checkbox (
) you can create a random pattern. The checkbox (![]() ) enables all pattern steps and the empty square (
) enables all pattern steps and the empty square (![]() ) disbales all pattern steps.
) disbales all pattern steps.
Active step:

At the bottom of the sequences tab there is the active step row. Each button will enable or disable a pattern step for all parts in the selected sequence.
Transfer
To transfer the samples and sequences they are converted to a syro audio stream. This audio stream can then be transferred to the volca sample via its "SYNC-IN" port. To do this you have to connect your audio output to the "SYNC-IN" jack on the volca sample.
Note:
Be careful when playing syro stream through speakers or headphones. Playback at large volumes may cause damage to equipment and/or ears.
Transfer Overlay
To start a transfer press any of the transfer buttons marked by![]() or use the main menu "Transfer".
or use the main menu "Transfer".
If you do this the transfer overlay will be opened showing that the transfer data is generated.
Once the generating process has been finished it will show you what data you want to transfer. If anything is korrekt press the "Let's go" button and the transfer process starts.
The progress bar shows you the progress of the operation.
As the transfer begins "DATA" will be displayed on your volca sample. If the transfer has ended it will show "END".
After the transfer you can close the transfer overlay.
Note:
You have to reload the transferred sequence to apply the new settings to the memory of the volca sample!
Note:
Please keep in mind: if you start the transfer, the new data will immediately overwrite the data stored on your volca sample.
Transfer Menu
In the transfer menu you can choose to transfer the following:
- Transfer project
transfer all samples and sequences of the actual project - Transfer project samples
transfer all samples of the actual project (same as the button in the samples tab header)
 - Transfer project sequences
transfer all sequences of the actual project (same as the button in the sequences tab header)
 - Transfer factory samples
reset the volca sample with the factory samples - Transfer factory sequences
reset the volca sample with the factory sequences - Transfer factory empty sequences
clear out all sample slots